TL;DR:
- Establish a structured, repeatable workflow focusing on gear, software, and testing to ensure smooth streaming.
- Proper setup of audio, video, lighting, and internet is essential to prevent technical issues and improve quality.
- Consistent workflows and documentation are more effective than upgrading gear alone in producing reliable, high-quality streams.
Getting your streaming setup right the first time saves you hours of frustration and prevents on-air technical failures. Many creators spend more time troubleshooting than actually streaming, largely because their initial setup lacks structure. This guide walks you through a clear, repeatable workflow covering gear selection, software configuration, production quality, and pre-stream testing. Follow these steps and you will reduce setup time, fix common issues before they happen, and go live with confidence every single session.
Table of Contents
- Understand and gather essential streaming gear
- Master your stream software configuration
- Refine your audio, video, and lighting for production quality
- Test, troubleshoot, and optimize your workflow
- Why the best streaming setup is about workflow, not just gear
- Take your streaming to the next level with VexioTV
- Frequently asked questions
Key Takeaways
| Point | Details |
|---|---|
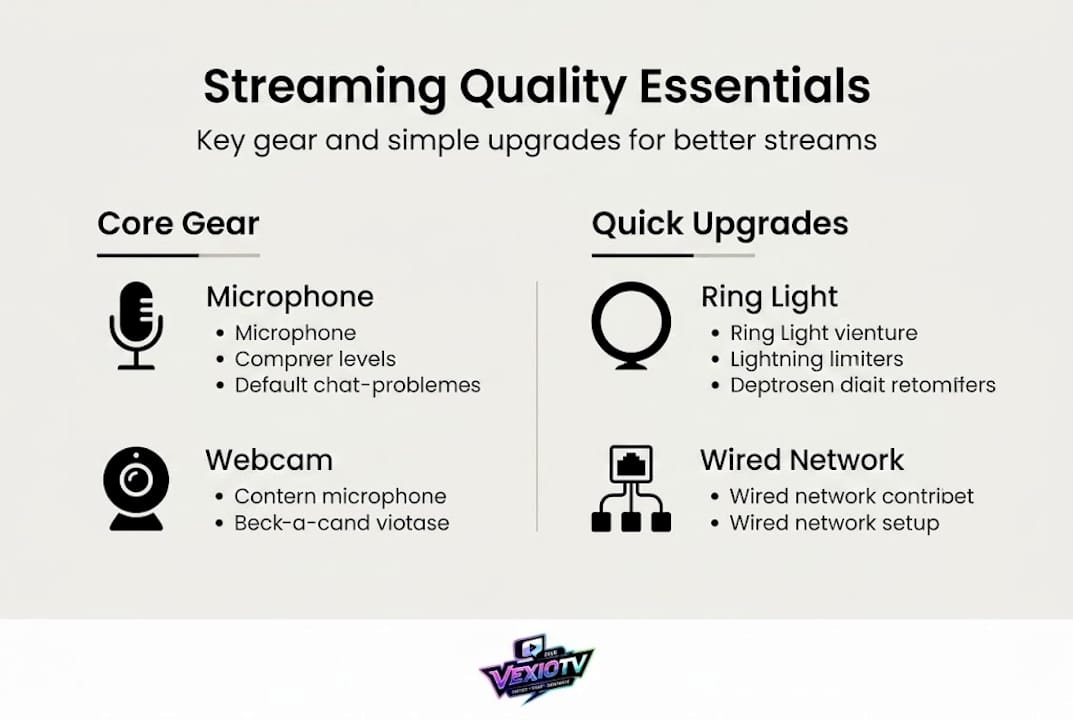
| Prioritize the essentials | Audio quality, camera, lighting, and stable wired internet are your streaming foundation. |
| Streamline your software | OBS Studio offers a powerful, beginner-friendly start, with alternatives for advanced needs. |
| Quality comes from workflow | A consistent setup and pre-stream checklist prevent most technical issues. |
| Test before you go live | Diagnose issues with stats tools and real-time checks to ensure error-free broadcasts. |
Understand and gather essential streaming gear
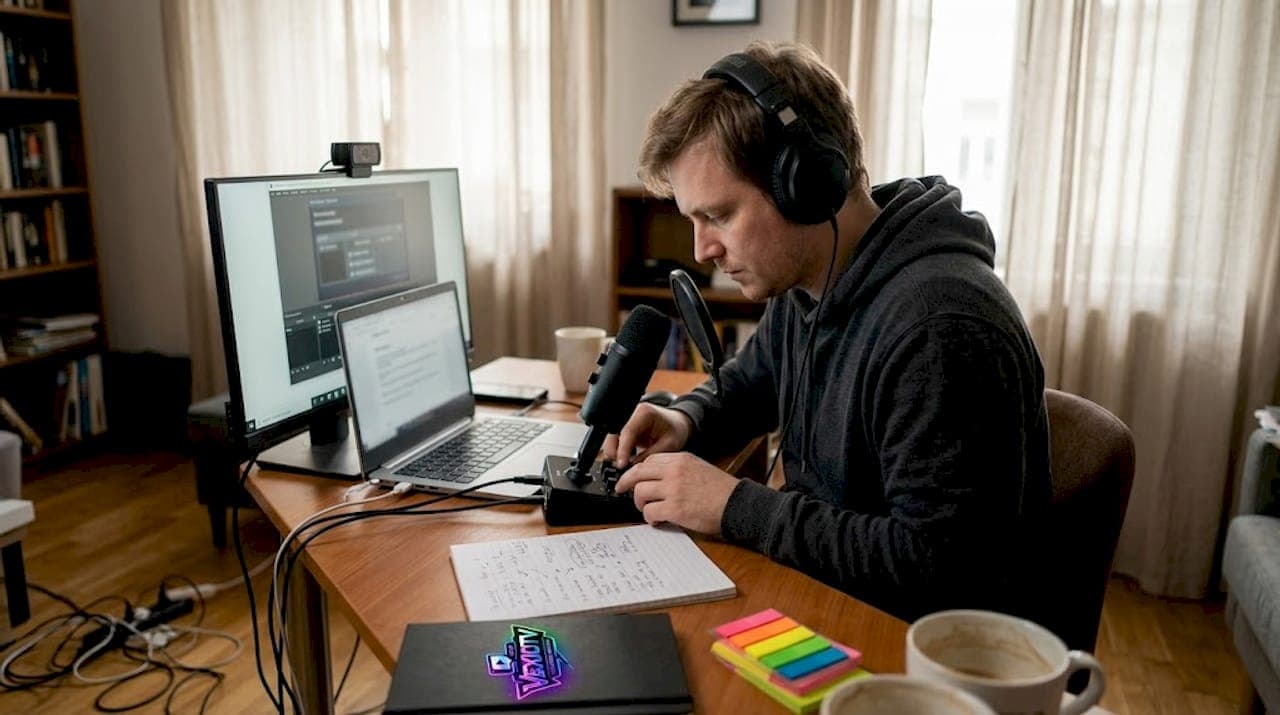
Before you touch any software, you need the right hardware in place. The streaming setup workflow follows a specific sequence: audio first, then video, then lighting, and finally a stable internet connection. This order matters. Poor audio drives viewers away faster than poor video. A blurry camera is forgivable. Constant background noise or a crackling mic is not.
Start with your microphone. A USB condenser mic works well for most new streamers. It plugs directly into your computer with no extra hardware required. If you want higher quality, move to an XLR microphone paired with an audio interface such as the Focusrite Scarlett Solo. The interface converts the analog signal from the mic into a clean digital signal your computer can use. Read more about choosing microphones and cameras to find the right fit for your content type.
Next, pick your camera. A 1080p webcam is a solid starting point. The Logitech C920 and C922 remain popular choices because they are reliable and easy to configure. If you want a step up, use a mirrorless or DSLR camera with a capture card such as the Elgato Cam Link 4K. This gives you a sharper image and more control over depth of field.
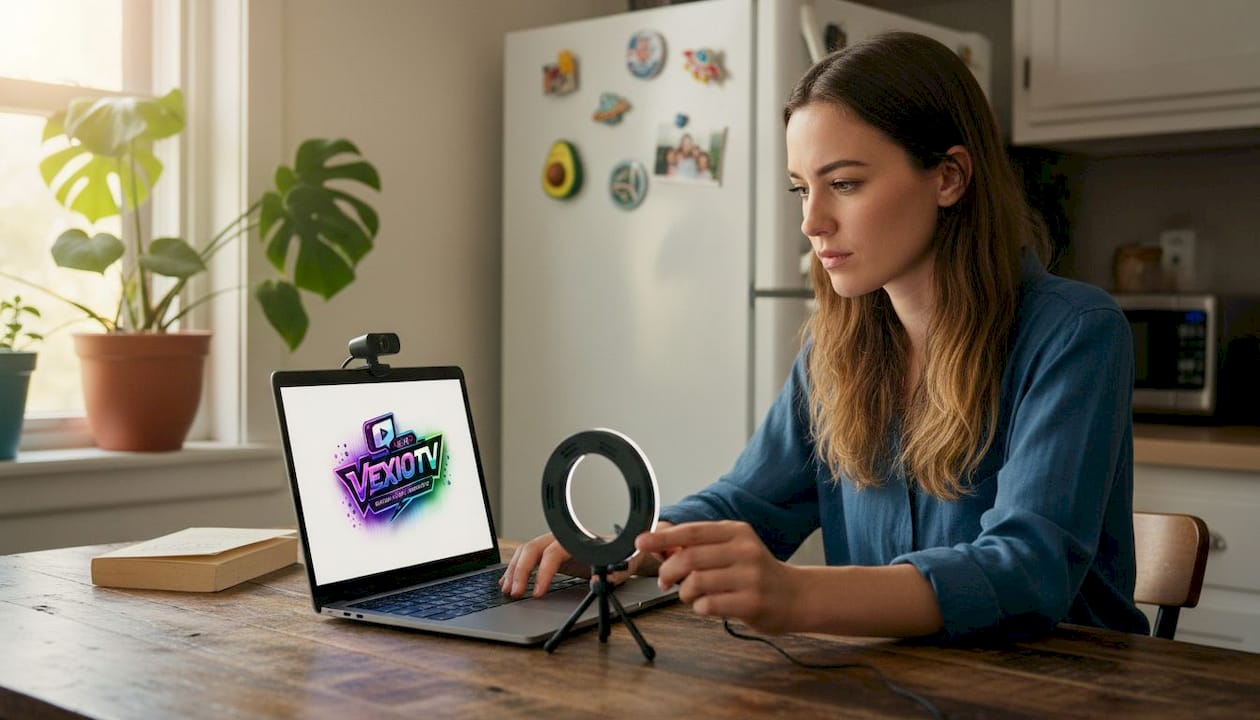
Lighting is often overlooked. A simple ring light placed in front of you improves your image quality more than a camera upgrade would. If your budget allows, a two-light or three-point setup (key light, fill light, backlight) gives a professional look without complex gear.
Here is a quick comparison of basic versus pro gear across each pillar:
| Pillar | Basic option | Estimated cost | Pro option | Estimated cost |
|---|---|---|---|---|
| Audio | USB condenser mic | $50 to $100 | XLR mic + audio interface | $150 to $400 |
| Video | 1080p webcam | $60 to $100 | Mirrorless camera + capture card | $400 to $900 |
| Lighting | Ring light | $30 to $60 | Three-point LED panel setup | $150 to $400 |
| Internet | Standard cable connection | Existing plan | Dedicated wired ethernet line | Minimal added cost |
Key gear recommendations at a glance:
- Audio: Blue Yeti (USB) or Shure SM7B with Focusrite Scarlett interface (XLR)
- Video: Logitech C922 for beginners, Sony ZV-E10 with Elgato Cam Link for intermediate
- Lighting: Elgato Key Light or Neewer ring light for entry-level setups
- Internet: Always use a wired ethernet cable if possible
Pro Tip: A wired ethernet connection is the single biggest upgrade for stream stability. Wi-Fi introduces packet loss and jitter that no software setting can fully fix. Plug in and stay connected.
Master your stream software configuration
With gear in hand, move on to your software layer. OBS Studio is the default recommendation for most streamers. It is free, open source, and runs on Windows, Mac, and Linux. The OBS configuration process follows a clear path: run the Auto-Configuration Wizard, build your scenes, configure audio sources, and then select the right encoder and bitrate settings.
Here is a numbered workflow to get OBS ready for your first stream:
- Download and install OBS Studio from obsproject.com. Open it for the first time.
- Run the Auto-Configuration Wizard. It tests your hardware and internet connection, then suggests optimal settings. Accept the suggestions as a starting baseline.
- Build your scenes. A scene is a saved layout of sources. Create at least two scenes: a main stream scene (game capture + webcam + overlays) and a "Be Right Back" or intermission scene.
- Set up your audio mixer. Add your microphone and desktop audio as separate sources. Confirm both show signal in the mixer before going live.
- Switch to Advanced Output mode. Go to Settings > Output > Advanced. Select your GPU's hardware encoder. NVENC works for Nvidia cards, AMF for AMD. Set rate control to CBR (constant bitrate). For 1080p at 60 fps, use a bitrate between 4500 and 6000 kbps, which is roughly 80% of your upload bandwidth.
- Set your canvas and output resolution. A 1920x1080 canvas at 60 fps is standard. If your hardware struggles, scale down to 1280x720 at 30 fps.
- Enter your stream key. Go to Settings > Stream and paste your platform stream key. This authenticates OBS to your streaming account.
Review a full live streaming step-by-step guide if any of those steps feel unfamiliar. A broader streaming software comparison can also help you decide if OBS is the right tool for your situation. Some creators prefer alternative streaming platforms that bundle software and hosting together.
Here is how the major software options compare:
| Software | Cost | Best for | Difficulty |
|---|---|---|---|
| OBS Studio | Free | Most streamers, full control | Moderate |
| Streamlabs | Free/Paid | Beginners, easy alerts and overlays | Low |
| vMix | Paid | Multi-camera, professional production | High |
| Wirecast | Paid | Broadcast-level productions | High |
OBS vs alternatives comes down to your priorities. OBS wins on flexibility and cost. Streamlabs is faster to set up with built-in alerts. vMix and Wirecast handle complex multi-camera workflows. Start with OBS and upgrade only when you hit a specific limitation.
Pro Tip: Run the Auto-Configuration Wizard first, go live once, and review your stats. Only adjust settings after you see real data from an actual stream. Guessing without data leads to unnecessary changes.
Refine your audio, video, and lighting for production quality
Technical setup is complete. Now you fine-tune for viewer experience. The difference between a watchable stream and a polished one usually comes down to three things: clean audio, a sharp image, and proper lighting. Each area has specific adjustments you can make inside OBS or on your hardware.
For audio, apply filters in sequence inside OBS. Right-click your microphone source and select Filters. Add them in this order: noise suppression, noise gate, compressor, and limiter. Noise suppression (use RNNoise for best results) removes background hiss. The noise gate cuts your mic feed when you are not speaking, which eliminates ambient noise between sentences. The compressor evens out your volume so louder moments do not spike unexpectedly. The limiter acts as a ceiling that prevents any sound from clipping above 0 dB.
For video, adjust these camera settings:
- White balance: Set it manually to match your lighting color temperature (typically 5500K to 6500K for daylight LEDs).
- Exposure: Avoid auto-exposure as it can shift brightness mid-stream when you move.
- Frame rate: Match your camera's frame rate to your OBS output setting (30 fps or 60 fps consistently).
- Shutter speed: Use double the frame rate (e.g., 1/60 for 30 fps) to avoid motion blur.
Also, cap your game's FPS in your graphics settings. Running your game at unlimited FPS creates unnecessary GPU load. Cap it at your stream output frame rate or slightly above to keep the encoder free for encoding work.
For lighting, place your key light (brightest light) at roughly 45 degrees to one side of your camera. Add a fill light on the other side at lower intensity to reduce harsh shadows. A backlight placed behind you and aimed at your head or shoulders creates separation from the background. This three-point setup is simple and produces a professional visual result.
Stationary setups reduce prep time and lower stress. When your gear stays in one place, your workflow becomes muscle memory.
Advanced tweaks for a cleaner stream:
- Use Lanczos downscale filter in OBS video settings for sharper downscaling
- Monitor your OBS Stats dock (View > Stats) for dropped frames and encoding overload
- Keep CPU usage below 80% during your stream to avoid encoding lag
- Use a pop filter in front of your mic to reduce plosive sounds ("p" and "b" bursts)
- Set your streaming best practices as a regular checklist before each session
Review common streamer mistakes and creative live streaming tips to keep improving your production quality over time.
Pro Tip: Keep your physical setup in one dedicated space. Moving gear between sessions adds setup time and introduces misconfigurations. A stationary setup means faster prep and fewer surprises on air.
Test, troubleshoot, and optimize your workflow
Production elements are ready. Now test everything before going live. A structured pre-stream checklist and real-time monitoring process will catch most problems before your audience sees them.
Run through this pre-stream checklist every single time:
- Check your internet connection. Run a speed test at speedtest.net. Confirm your upload speed is at least 10 Mbps and stable. Set your bitrate to no more than 80% of your upload bandwidth to keep headroom for other traffic.
- Verify audio. Speak into your mic and confirm the OBS audio mixer shows signal. Check that desktop audio is also active if needed. Put on headphones and listen to a test recording.
- Check video. Confirm your webcam or camera appears in your scene with no black screen or freeze. Check focus, exposure, and white balance under your current lighting conditions.
- Review your overlays and alerts. Open each scene in OBS and confirm all sources are active and positioned correctly. Test any browser-based alert sources by triggering a test alert.
Once live or in a test stream, use the OBS Stats Dock to monitor performance in real time. Open it via View > Stats. Watch these numbers closely:
- Dropped frames (Network): If this rises above 1%, lower your bitrate by 500 kbps increments until it stabilizes.
- Dropped frames (Rendering): This signals GPU or CPU overload. Lower your output resolution or cap game FPS.
- Encoding overload: Switch to hardware encoding (NVENC or AMF) if your CPU is struggling.
Common issues and fixes:
- Audio out of sync with video: Add a fixed audio delay in OBS (right-click mic source > Properties > Sync Offset). Start with 100 ms and adjust.
- Black screen on game capture: Switch capture mode from Window Capture to Game Capture, or try running OBS as administrator.
- Webcam freeze mid-stream: Update your webcam driver and avoid USB hubs. Plug directly into a motherboard USB port.
- Stream keeps disconnecting: Check your stream key, verify your platform server is selected correctly, and reduce bitrate.
Run a private test stream for 10 to 15 minutes before your first real broadcast. Record locally at the same time using OBS's local recording feature. Watch the recording back to catch any issues you missed while running the stream. Iterate. Adjust one setting at a time. Document each change so you know what worked.
Review your full streaming checklist before every live session. The few minutes it takes to check every element prevents incidents that would otherwise cost you viewers and credibility.
Why the best streaming setup is about workflow, not just gear
Here is something many streamers learn the hard way: buying better gear does not fix a broken workflow. Creators spend money on a new camera or a premium mic and still go live with dropped frames, bad audio, or misaligned overlays. The problem was never the hardware. It was the process.
The most reliable streamers are not necessarily using the most expensive equipment. They have a documented, repeatable workflow. They set up the same way every time. They know exactly which settings to check, in which order, and why. That consistency is what builds quality over time.
The "always upgrade" mindset is a trap. Each new piece of gear introduces new variables: new drivers, new settings, new compatibility issues. Upgrades should solve a specific, identified problem. Upgrading for the sake of it creates more friction, not less.
A documented streaming workflow guide saves hours when something goes wrong. Save your OBS profile, your scene collection, and your audio filter settings as backup files. If your computer crashes or you need to reinstall, you restore your full setup in minutes instead of rebuilding from scratch.
Pro Tip: After each stream, spend two minutes writing down any issues you noticed and what you changed. A simple text file works. This record becomes your personal troubleshooting database.
Take your streaming to the next level with VexioTV
You have the workflow. Now use it on a platform built for creators who want to go live without friction.
VexioTV lets you go live with one click, directly from your browser or your existing software setup. Whether you stream gaming, music, IRL content, or creative performances, the platform gives you a dedicated space to build your audience and earn from your content. The community tools and monetization features are built in from the start, so you focus on streaming, not setup. Sign up at vexiotv.com, connect your stream key to OBS, and go live. Your optimized workflow deserves a platform that keeps up with it.
Frequently asked questions
What is the minimum internet speed for reliable live streaming?
A minimum upload speed of 10 Mbps is recommended, with at least 80% of that bandwidth dedicated to your stream bitrate to maintain stability.
How do I fix dropped frames during a live stream?
Lower your stream's bitrate or output resolution first; if dropped frames show as network-related in OBS Stats, a wired internet connection and reduced bitrate will resolve most cases.
Which streaming software should I start with?
OBS is free, powerful, and customizable, making it the best starting point; move to Streamlabs for easier overlay setup or vMix and Wirecast if you need multi-camera production.
How do I improve my production quality without expensive gear?
Apply audio filters in OBS including noise suppression, noise gate, and a compressor, then focus on basic lighting placement and correct camera settings before spending money on new hardware.